

Completely clueless when it comes to setting up a website? If so, you’re certainly not alone.
Don’t worry though, as long as you can read and click a mouse, you can create your very own website from scratch.
In less than 30 minutes. This guide will show you how.
Creating a website from scratch doesn’t need to be difficult or stressful.
In fact, it can be a lot of fun (especially when you get to the design part!).
This beginners guide follows a simple, 4 step process that will help you get your shiny new website up and running in just 20 to 30 minutes. Sound good?
Then take a deep breath, (and a big slurp of coffee) and let’s get stuck in.
A brief word on WordPress:
Before we jump into the nitty-gritty of the tutorial, I want to talk briefly about WordPress.
This tutorial could easily have included another step (we’ll call it step 0) that said: “choose a platform”.
However, while there are several other platforms to choose from (Wix, Joomla, Squarespace, Weebly, Drupal, the list goes on…) I always recommend WordPress because it’s the biggest, most versatile and most stable platform option, as you can see from the graph below:

It’s also completely free to use.
There are lots of reasons why WordPress is the number one choice for so many businesses, celebrities, bloggers and influencers.
The main 3 reasons that most people choose to use WordPress are its flexibility (it’s suitable for any size of business or site), compatibility (you are much less likely to bump up against annoying software issues) and ease of use.
Ok, that being said, onward to the first step in creating your dream-site!
Getting a domain name and web hosting.
The first thing you need to do is choose a domain name.
Your domain name is your web address and usually contains either your name or the name of your business, plus an extension like .com, .org, .co.uk or .net.
The full address should look like this (the domain name part is on the right):
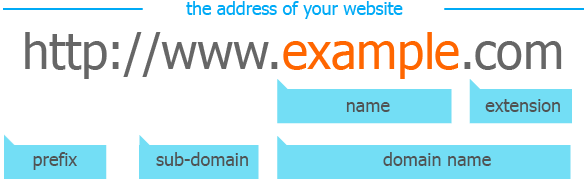
It’s best to choose a short domain name that’s easy to remember and make sure that it’s also easy for visitors to spell and to type.
Once you have settled on a name, you’ll need to choose a host.
Pro tip: you can get a free domain name if you register with a well-established hosting service like Bluehost.
What to look for in a web host:
There are plenty of bad hosts out there that you’ll definitely want to avoid. So here are a few tips for what to look for in a web host provider.
Good web hosts:
- Offer incentives like free domain names, SSL certificates and unlimited emails.
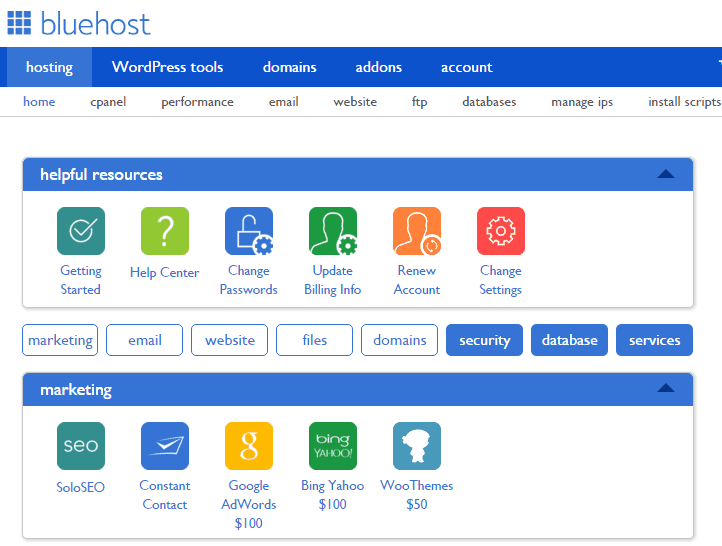
- Have user-friendly dashboards (like the one below) that makes life easier.
- Are fully compatible with (and/or endorsed by) WordPress.
- Allow you to install popular software like WordPress and Drupal, with a single click.
- Have excellent 24/7 customer support.
- Are competitively priced and affordable.
- Offer a 30-day money back guarantee.
- Back up your data daily, weekly and monthly so you can always revert back to an earlier version of your site if you need to.
Bluehost checks all of the boxes above, which is why it’s my go-to host.
Bluehost is great for anyone new to creating websites because it’s a one-stop shop that allows you to check the availability of domain names, register your domain (for free) and set up your web hosting all in the same place.
Full disclosure: I have negotiated a discount with Bluehost and I receive a small commission if you purchase web hosting from them via my referral links. Your support is much appreciated and helps me to keep this site up and running.
How to set up web hosting.
Setting up web hosting is a similar process no matter which provider you choose.
For the purposes of this tutorial, let’s say that you’ve decided to go with Bluehost.
(You really can’t go wrong with them).
Here’s what you need to do.
First, head on over to Bluehost. (or an alternative hosting provider).
You can use this link to get the discounted price of $2.95 and a free domain for a year.

Next, tap the big green button and select a plan. There are 3 to choose from:

Basic – normally costs $7.99, but if you have used the link above, you’ll be able to get the discounted price of $2.75.
The basic package allows you to have one website and up to five email accounts.
Plus – If you have more than one website, then you’ll need to upgrade to the plus package. It’s a little bit more expensive, but the number of websites and email accounts you can have is unlimited.
Choice plus – This is the premium package and comes with everything you get in the plus package with some bonus extras (worth around $80 a year).
The choice plus option is the only one that allows you total domain privacy – meaning that no-one can find out that you are the owner of the domain.
Don’t worry too much about selecting the wrong plan, Bluehost (and most other hosting providers) will allow you to up or downgrade further down the road if you need to.
Now enter your chosen domain name.

If you want to register a new domain name with Bluehost (for free), enter your details in the box on the left.
If you already have a registered domain name, use the box on the right. Simple!
Here’s where you can check if your domain name is available – if it is you’ll see this message:

Don’t worry if your chosen name is already taken (this happens a lot).
You’ll be offered helpful alternatives like switching to .net for example.
Once your domain name has been accepted, it’s time to enter your details.
Fill in the contact form to create your account.

Once you have filled in your details, check the basic package info and add any extras you want.
If privacy is important to you (and you’re not ordering the choice plus plan), then I suggest adding the Domain Privacy Protection.
Then scroll down and enter your payment details.
Set your password and log in.
Once you have registered and paid, you’ll be prompted to create a password.
Then all you need to do is log in to start creating your website!
Well done! You have officially completed the first step. On to step 2!
Setting up the website (through a web host).
For step 2, you’re going to install WordPress (or Joomla or Drupal if you prefer).
Now, one of the major reasons that almost everyone (myself included) loves Bluehost so much is that you can install WordPress using their “one-click installation”.
Because of the one-click installation feature, it’s much easier if you are using Bluehost, but these instructions work well for most of the major hosting companies too.
- Log in to your Bluehost account (or whoever you are with for hosting).
- Go to the cPanel (control panel) dashboard.
On Bluehost it looks like this:

3. select the Install WordPress option as shown below:

4. Select the domain name that you want to build your site on from the drop-down.
5. Enter your admin information. – You will be prompted to enter the name of your website or business and create an admin username and password for logging into wordpress and making changes.
6. Click next and wait for WordPress to install 🙂
Designing your website.

Now for the fun part!
It’s time to choose a theme.
Selecting a theme can be a bit overwhelming at first. There are just so many to choose from.
A simple decision that will make your life easier (and narrow it down a bit at the beginning of the process) is to decide if you want to go for a free or a paid theme.
Now. There are lots of great WordPress themes out there that do the job well and that won’t cost you a penny.
I’ll show you some of the best ones shortly.
Be aware though, that free WordPress themes are very popular and are often therefore used on 10,000 websites or more.
This is fine for some, but not so great if you want to be original.
They are also likely to be updated less regularly than paid themes.
The quality of the coding is often far better and more professional with paid themes.
That being said, here’s a list of 10 of the best free WordPress themes (all of which can be installed quickly and easily via Bluehost).
10 of the best Free WordPress Themes:
Breviter.

This elegant and sharp looking theme is perfect for bloggers and professionals looking for a bold, fresh and stylish design.
It’s clean, crisp and packed with useful features like custom widgets and a choice of blog feed layouts.
Shapely.

If you’re looking for a theme to compliment your eCommerce site, you might want to consider shapely.
It’s a versatile theme that functions well and offers a variety of visual effects and customisation options.
Zillah.
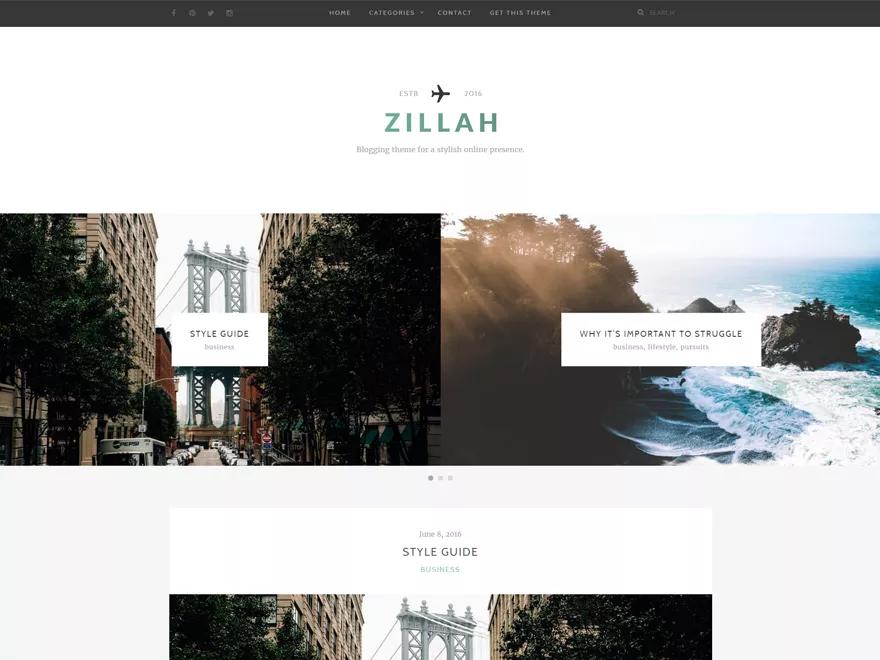
Perfect for bloggers and Influencers, Zillah offers clean, simple, readable layouts with an unlimited colour palette and plenty of customisation options.
Its also optimised for speed and SEO friendly (Google likes it).
Venture.

The venture theme is sleek, slick and minimal.
It offers a high impact professional design that is suitable for a wide variety of websites.
Business.

“Business” does what it says on the tin.
If you’re looking for a storefront that has pricing and custom menu options with space for employee details you might want to check this one out.
iMax

iMax is a responsive multi-purpose theme that’s suitable for business, portfolio or blog-based sites.
It’s simple, clean, and compatible with most popular plugins.
iTek.
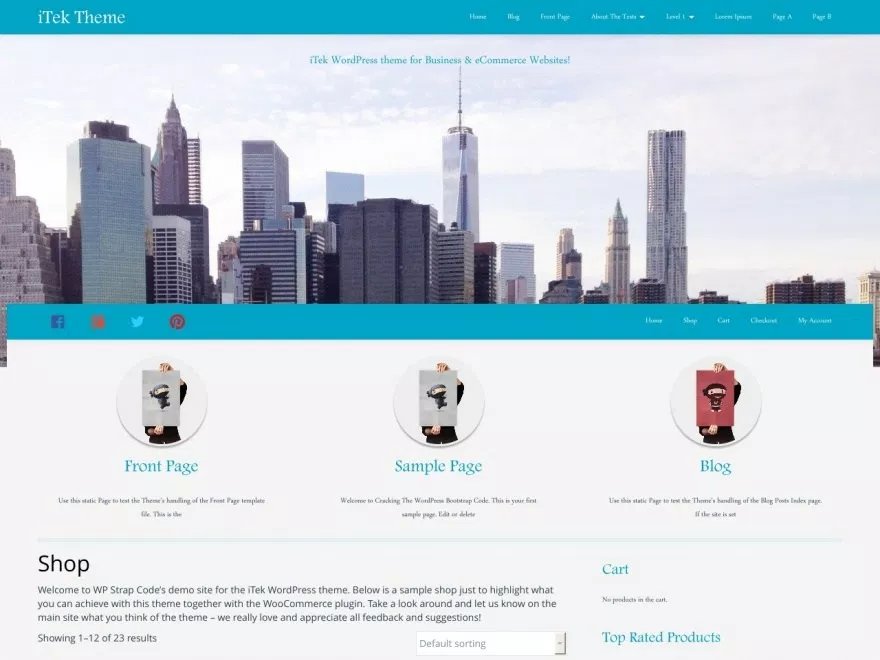
This theme is designed for business and e-commerce.
It comes with a whole host of awesome tools to help you create an amazing shopping experience.
Magazine.

As the name suggests, Magazine is a publishing format suitable for news and information style websites.
Choose this if you regularly publish lengthy articles or content that needs to be organised and easily accessible.
Trends.
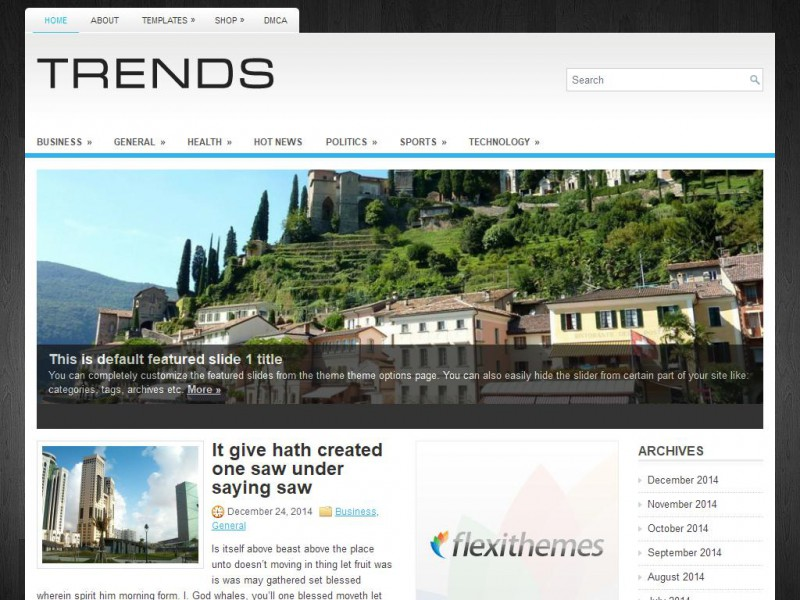
Does your business hinge on presenting a professional image?
If so, Trends might be a good theme for you. It’s widely used by the likes of real estate brokers, property management firms and freelance professionals.
Food hunt.

If you’re a restaurant owner or foodie, this theme will help you show off your creations in all their high-res glory.
It’s fully responsive, (meaning it will display properly on mobiles and tablets etc) and has a menu plugin so you can easily create mouthwatering menus to entice customers.
How to browse and find themes on WordPress.
To find the right theme for you. Follow these 3 simple steps.
First – Login to WordPress and hit “dashboard” on the top left.

Next – Find the “appearance” option.
It’s on the menu with the black background on the left side of the screen (check the image above and you’ll see it).
Select “Appearance” and then click “themes” from the menu that appears.
If you find that you want something a bit more customisable or snazzy, check out Themeforest.net to browse through the best of the paid themes.
Finally – Install your theme.
Each theme will have an option underneath that says “Install Now”.
Once you have found a theme you like, hit the Install now button to download it and then hit “Activate” to apply:

You can change your theme whenever you like using this method.
Only the theme will change, so there’s no need to worry about losing content like pics, articles, blog posts etc when changing your theme.
Adding and filling in pages.
Ok, shiny new theme installed? Check.
Now you need to add some content.
First things first. You need an idea of how many pages you want and what type of pages you want on your site.
This varies quite a bit and depends on the purpose of the site.
Here’s a list of basic page types you might want to include:
- Homepage
- About page
- Services
- Products pages
- FAQ’s
- Testimonials or reviews
- Contact page
- Blog
- Latest news
- Privacy policy
- Terms and conditions
How to add a new page.
By now you should be familiar with the WordPress dashboard.
Go there and select the “pages” option (black menu on the left) and then “add new”.
From here you’ll be able to add your content using the editor. It should look like this:

Pop your page title in the top and the main body of your text in the big box.
Once you’re done editing, you can either save the page as a draft or publish it to your site if it’s ready.
How to edit an existing page.
Click on “Post” then select “all pages”.
Find the page you want to change and either click on the title or the “edit” button that appears as you hover over the title.
To save your progress, hit “save draft” or go ahead and publish if you’re happy with it.
How to add a new post.
Follow the same process as for adding pages above, but select “Posts” instead of “pages” then “Add new” to get started.
How to edit an existing post.
Click on “Post” then “All Posts”.
Locate the post you want to change and click the title (or the edit button).
Once you have made the necessary changes, don’t forget to either save the draft or hit publish.
How to add a page to your homepage menu.
If you want the page you’ve created to show up on the homepage navigation menu, first click “Update” to save any changes.
Then click the “Appearance” option in the dashboard and select “menus”.

You’ll see all of your page titles on the left with checkboxes next to them as in the example above.
Simply select the pages you want to display on the homepage navigation menu and click the “add to menu” button.
What you need to know about WordPress Plugins.
Congratulations! If you have followed the steps in this guide then you should now be the proud owner of an awesome new website!
The first thing people generally want to know at this stage is how to get WordPress Plugins.
So, this final section is going to address some of the most frequently asked questions to do with WordPress plugins.
We’ll look at what plugins are, how they can improve your site and we’ll go through how you can find and install them.
If you’re eager to know more about these awesome little helpers, read on.
What are WordPress plugins?
A plugin is a piece of software that you can add to your WordPress site to give you more functions or new features.
It can be helpful to think of plugins as apps because they function in pretty much the same way as apps do on your smartphone.
How do I install plugins?
From the WordPress dashboard, go to “Plugins” and then “Add New”.
Search for a specific plugin by name, or browse by featured, recommended, favourites or popularity:

Once you have found a plugin you want to install. Hit the grey “Install Now” button that appears at the side of each plugin.
The plugin will then automatically install and once complete you will see a success message like this:

Remember! You must click the “Activate Plugin” link to add the new plugin to your website.
What are the best plugins to install?
That depends on the type of website you’ve created and on what you want to achieve.
There are plugins for just about everything.
Like with themes, there are also free plugins and paid plugins.
Here are a few of the most popular FREE WordPress plugins in 2019:
Jetpack.

Jetpack has basic security features, useful content management tools, allows for easy social sharing and helps with overall site performance.
WeForms.

WeForms is designed to help you to set up simple contact forms that make it easy for customers or users to submit their details.
You can use WeForms to set up and manage multiple forms across your site.
Yoast SEO.

Yoast SEO is a must have plugin. It offers a set of tools that help make your site search-engine friendly.
W3 Total Cache.

The time it takes for your website to load can have a huge impact on your bottom line, check out the infographic below and you’ll see what I mean:

W3 total cache is designed to maximise your site’s speed, saving you money whilst also dramatically improving your search engine ranking.
Updraft plus.

Updraft Plus is available in 2 versions, free and pro.
It’s a backup plugin that allows you to save your whole site (including email, Dropbox, google drive etc) to the cloud and restore it all (in the event of a technological meltdown) with a single click.
Let’s wrap this up.
There you have it, folks, I hope that you found this guide useful and that it helped you to create your website without too many headaches 🙂
I wish you the very best of luck with your online endeavours.