
Updating your website?
Looking for a quick and easy way to put it in maintenance mode?
We’ve got you covered.
In this tutorial, we’ll go through 3 ways that you can put your WordPress site in maintenance mode.
They are:
- Using a plugin.
- Adding code to the functions.php file
- Enabling maintenance mode via a .htaccess file.
Let’s get straight to it.
Method 1. How to put your WordPress site into maintenance mode using a plugin.
The first method is by using a plugin.
If you’re not really all that techy, and the idea of tinkering with code scares you, this is the method for you.
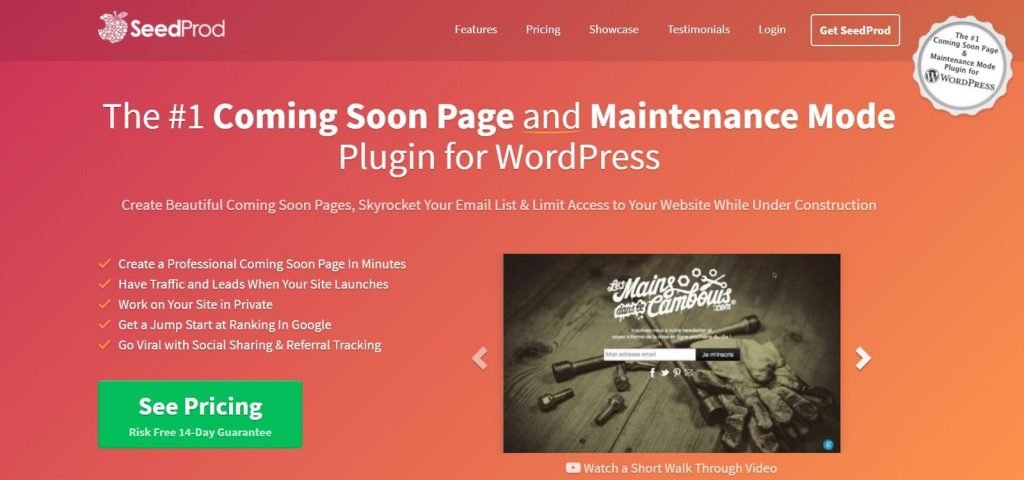
There are several plugins designed for this task, but we’re going to use SeedProd.
We’ve chosen this plugin because it allows you to create a stunning and vibrant coming soon page that is fully customized.
- With SeedProd, you get access to 500,000 free background images, as well as Google Fonts and some pre-made themes.
- You can also quickly and easily change the text, font and layout of your maintenance page and add your logo.
- You can even sync up with a service like Mailchimp and use your maintenance page to start building or to grow your email list.

Here’s what you need to do:
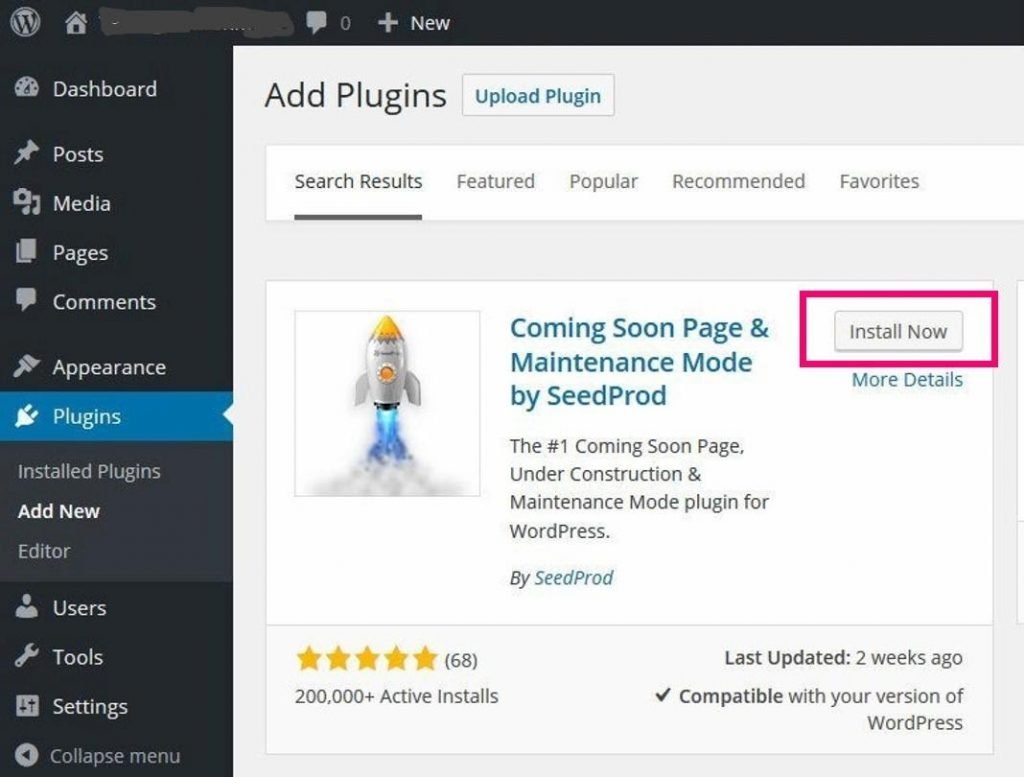
1. From your main WordPress dashboard, go to Plugins, then Add New.

2. Type SeedProd into the search bar on the top right of the add new page.
Here’s what you’re looking for:
3. Hit the grey button shown below to Install SeedProd. Don’t forget to activate the plugin once you have it installed.
4. Head back to your main WordPress dashboard and you should see that a new item has been added to the core menu called Seedpod. Go ahead and click that.
5. Select the Enable Maintenance Mode option on the right as shown in the image below, then save the changes.

Congratulations! Your website is now in maintenance mode.
To check its active, look at the toolbar at the top right corner of your screen. You should see a message like this that says Maintenance Mode Active:

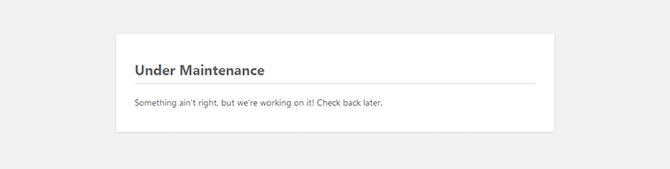
But wait, what will my visitors see?
Well, it’s going to be a pretty basic maintenance page, something like this:

While this certainly does the job, it doesn’t give a great impression.
So, you’re probably going to want to play around with the Seedprod settings to create your very own maintenance page masterpiece.
Here’s how to customise your maintenance page.
1. From your Main WordPress dashboard menu, go to Seedprod and scroll down the page until you see the page settings part:
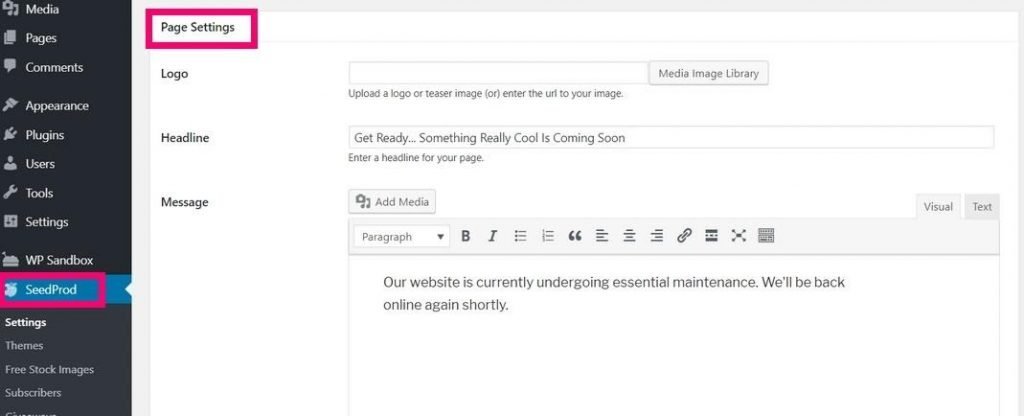
2. In this section, you can see the default settings and do the following 3 things:
- Upload your logo or an image from your media library.
- Insert a custom headline.
- Add a message to let visitors know what’s happening and when they can expect your site to be back up and running.
3. Now for the fun part! Go ahead and hit the design tab at the top of the page. It’s the second one along:
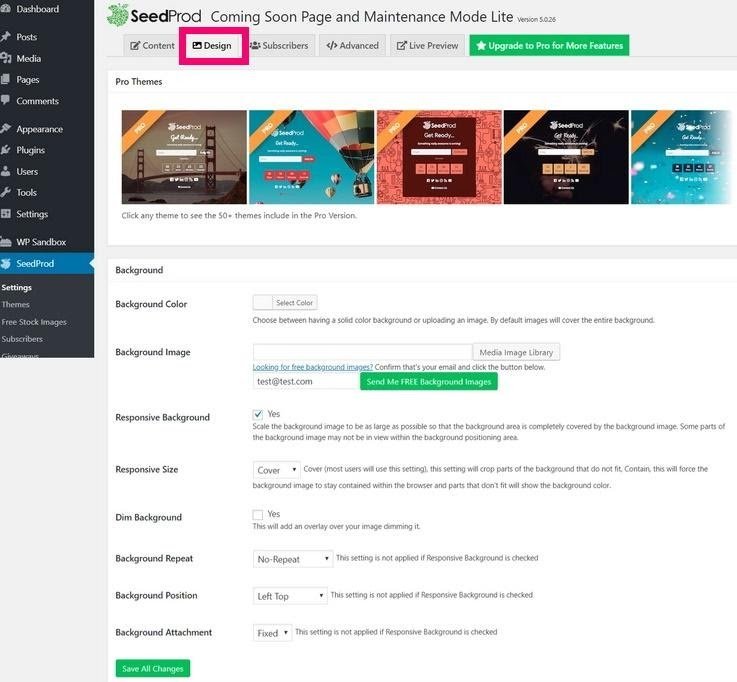
4. As you can see from the image above, you can either choose an existing theme or create your own custom design.
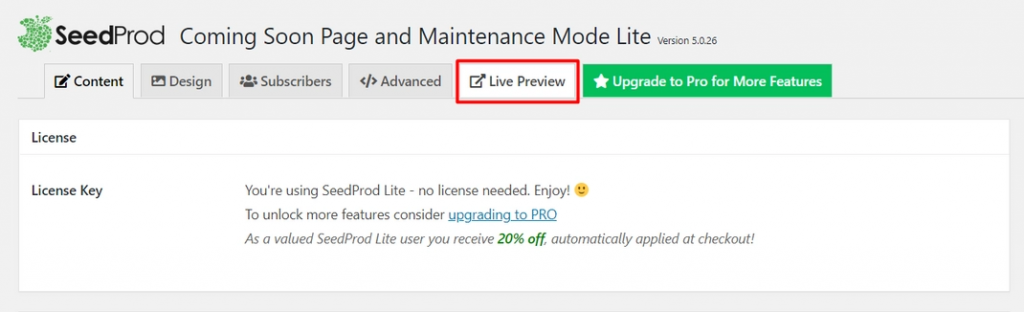
5. There’s a Live Preview button at the top, so use that to check out what your visitors can see.
How to put your site in maintenance mode without using a plugin.
Don’t fancy adding another plugin? Fair enough.
Here are 2 ways to put your site into maintenance mode without the use of plugins.
Method 2. Adding code to your functions.php file.
This method involves adding code to your functions.php file.
It will allow you to add a very basic maintenance page to your WordPress site but you won’t have any of the design options that you get when you use a plugin.
So, if your comfy with code, and you don’t care about adding bells and whistles, then here’s what you need to do to put your site into maintenance mode.
1. Go into the functions.php file and add the following code:

2. You can also customise the message after the h1 tag if you like.
Here’s what you’ll end up with:
That’s it, super simple huh?
Here’s a different way of doing it.
Method 3. How to enable maintenance mode via your htaccess file.
If you have permission to access the htaccess file on your server, you can go to the root directory of your website and find it.
Once you’ve located the file, go ahead and open it, then add the following code:
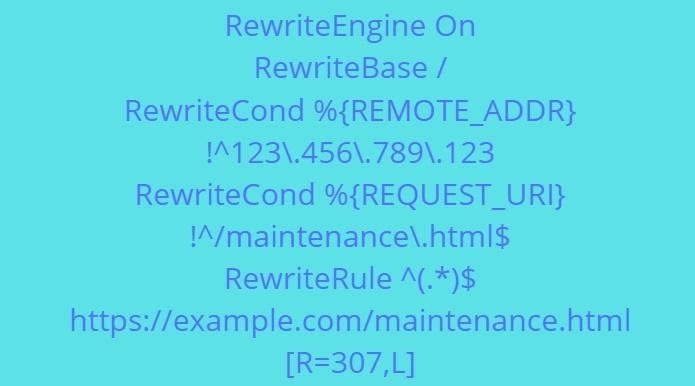
Make sure that you put your own IP address in next to the %{REMOTE_ADDR} part.
Just replace the numbers.
Next, you will need to create a maintenance.html file for your traffic to be directed to.
This works as a temporary replacement for your homepage.
And that’s it!
I hope that you found this tutorial useful.
Happy WordPressing!