

If like millions of others, you are using a free WordPress theme, you’ll be familiar with the “proudly powered by WordPress” message that is constantly displayed in the footer.
Having WordPress branding on your website can be so annoying.
Not only does it look unprofessional, but it’s also visually unappealing.
But, fret not dear friends, because I’m going to show you how you can remove that irritating “proudly powered by WordPress” message from your website for good.
Ready to get started?
Let’s do this.
There’s more than 1 way to skin a cat (actually, there’s 3).

Depending on the theme your using (and the date it was created) the method you use to remove the “proudly powered by WordPress” message may differ slightly.
There are 3 main ways to get rid of the message, each of which we will go through.
So if you try a method and it doesn’t work, just move on to the next method and try that instead.
Here’s the one you should try first:
Method No 1. The theme settings method.
If your theme is created by WordPress:
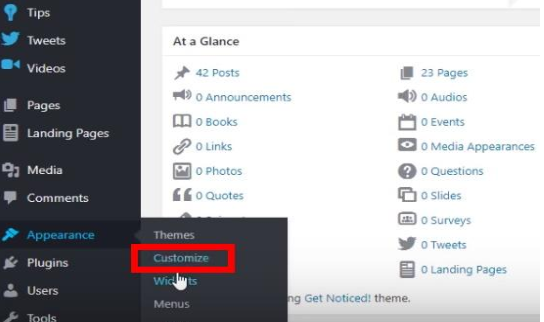
1. If you’re using one of WordPress’s own creations, the first thing you’re going to want to do is to head on over to your WordPress dashboard and then hit “Appearance” from the main menu on the left.
2. You should see an option in the “Appearance” menu that says “Customize”.
Go ahead and click that:
3. Click “Footer Area” Then select “Bottom bar”.
4. You can now choose to “Disable footer Credits”. Or, if you want, you can add your own text (if you want to credit your developers for example) by using the “Edit” Function.
If you’re using a 3rd party theme:
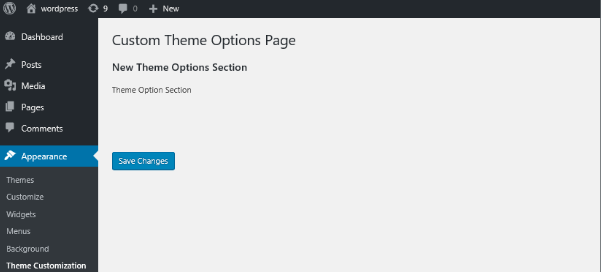
1. From your WordPress dashboard, first, select the theme you are using. In the example below, you’ll see that the theme is “Get Noticed”.
2. As in the case of WordPress’s own themes, you’ll need to select “Appearance” and then Customize”:
3. Next, select “Copyright Area” from the bottom of the left-hand menu as in the image below:
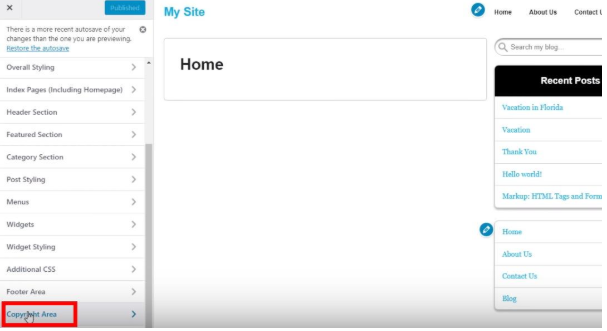
You should now be able to see the copyright information for your particular theme.
Please note that this example is for the Get Noticed theme, so you may have to do a little digging to find this setting if you are using a different theme.
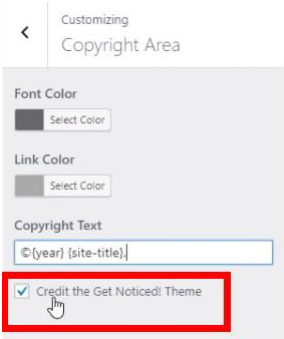
What you are looking for is an option to disable footer credits, so check the widget section and the theme customization options carefully.
4. Uncheck the box that allows the theme to be credited.
Method No 2. The Footerphp method:
If you have checked the settings for your theme thoroughly and haven’t been able to find a way to remove the footer, don’t panic!
Editing the Footer.php is another easy way to get rid of the “powered by WordPress” footer.
Basically, for this method, you’re going to find and delete the small section of code that tells your site to display that nasty footer message.
The safest way to do this is to use an SFTP file manager like the ones listed below:
- Filezilla (works across all platforms).
- FireFTP (works across all platforms).
- Cyberduck (only for Mac users).
- WinSCP (Windows only).
For the purposes of this tutorial, I’ll show you how to edit the Footer.php. File using Filezilla.
- Go to https://filezilla-project.org/ and select the appropriate download for your computer (the all platforms option is the one on the left – if you want windows select the right).
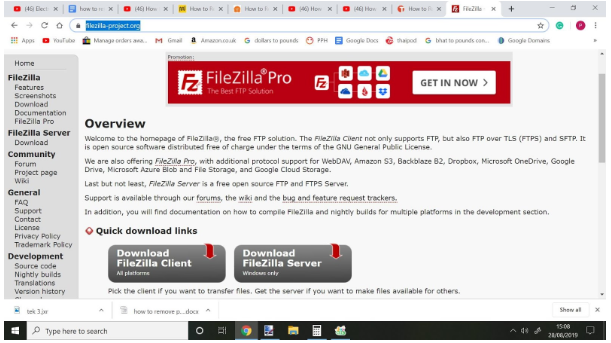
2. Once your download is complete, install Filezilla.
You should now be able to access the following screen:

3. In the top right corner, select “file”, then select “site manager”.
4. From here you can now add a new site, so go ahead and click “New site” in the box that appears (as in the image below) and then type your website name into the host bar on the top right:

5. In the same box, under where you just typed in your website name, you’ll see Protocol. Select “FTP”. from the drop-down.
6. Under “Encryption” select “Use explicit FTP over TLS if available.”
Your completed details should now look like this:

7. Select your preferred login type from the drop-down (normal is fine) and then pop in your username and password and hit connect.
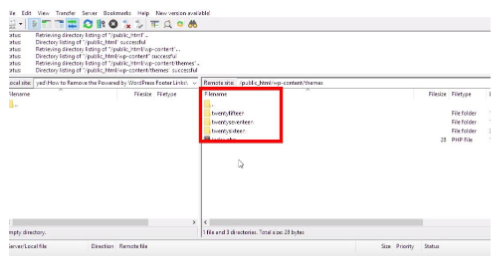
8. Once connected go to your WordPress content file and select themes.
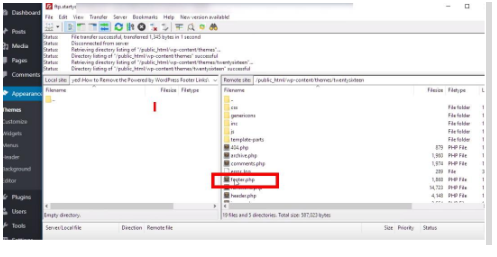
9. Next, select the name of the theme you are using and look in the folder for the Footer.php file:
10. Once you find the file, go ahead and right-click to see the option to download it:
11. Open the downloaded file into any text editor (notepad etc).
12. Go in and delete the section of the code shown in grey in the image below.
You can also edit the text so that it says powered by ___insert name here___if you want to give credit to a developer or insert your own brand details:

Don’t forget to save once you have removed or edited the code!
13. Use the FTP client to upload the new version of the code (right-click on the footer.php folder over on the left and select upload):

14. You should see a box appear with the option to overwrite – make sure that the first option to overwrite is checked and then click ok:

15. Go to your site and marvel as the message is now gone for good!
Method No 3 – the (sketchy and possibly ill-advised) CSS Method.
This one is simple and easy to do but be warned, this method involves hiding a link which can hurt your SEO.
Google views sites with hidden links as suspicious so only use this method if you have tried everything else first.
If all else fails. Here’s what to do.
1. WordPress dashboard – appearance- customize.
2. Click “additional CSS”.
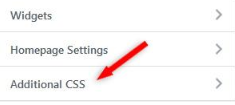
3 Add the following code to the CSS box : .site-info{display: none;} .
4. Click “publish” to initiate the change.
Voila! Your “proudly powered by WordPress” text should now be hidden!